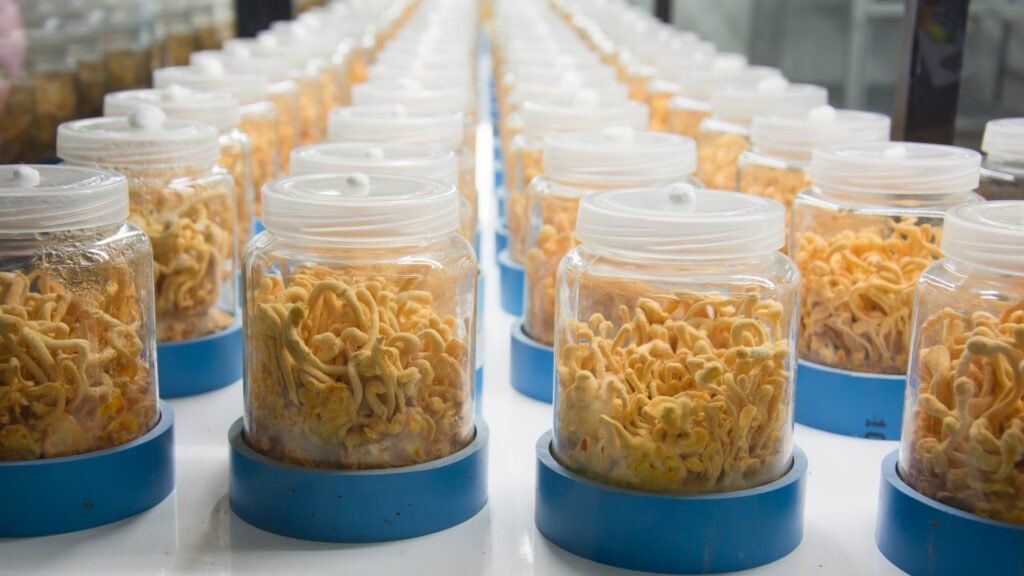
Journey into the rich tapestry of mycology, diving deep into hardwood pellets – a favored substrate choice that blends accessibility with efficiency for mycelium cultivation.
As one of the most popular mediums in mushroom cultivation, hardwood pellets cater to both the budding enthusiast keen to see their first pins and the seasoned mycologist striving for optimized yields.
INTRODUCTION:
Welcome to a continually evolving guide tailored to meet the dynamic realm of mycology. As insights emerge and practices refine, so shall the information herein. Set to unravel the secrets of the hardwood pellets substrate? Let’s start with the essentials.

MATERIALS NEEDED:
- Hardwood pellets
- Water
- A large pot or pressure cooker
- Pint or quart-sized mason jars with lids
- Gypsum (optional but extremely beneficial)
- Thermometer
- Measuring cup and spoons
Hardwood Pellets TEK Quick Reference Chart:
| Ingredient | Pint Jar | Quart Jar |
|---|---|---|
| Hardwood pellets | 150g | 300g |
| Water | 200ml | 400ml |
| Gypsum | 5g (optional) | 10g (optional) |
| Pressure Cooking Time | 90 Minutes | 90 Minutes |
| Pressure Cooking PSI | 15 PSI | 15 PSI |
Note: Gypsum is optional, but it will enhance texture and nutritional content.
PROCEDURE:
Sourcing the Right Pellets:
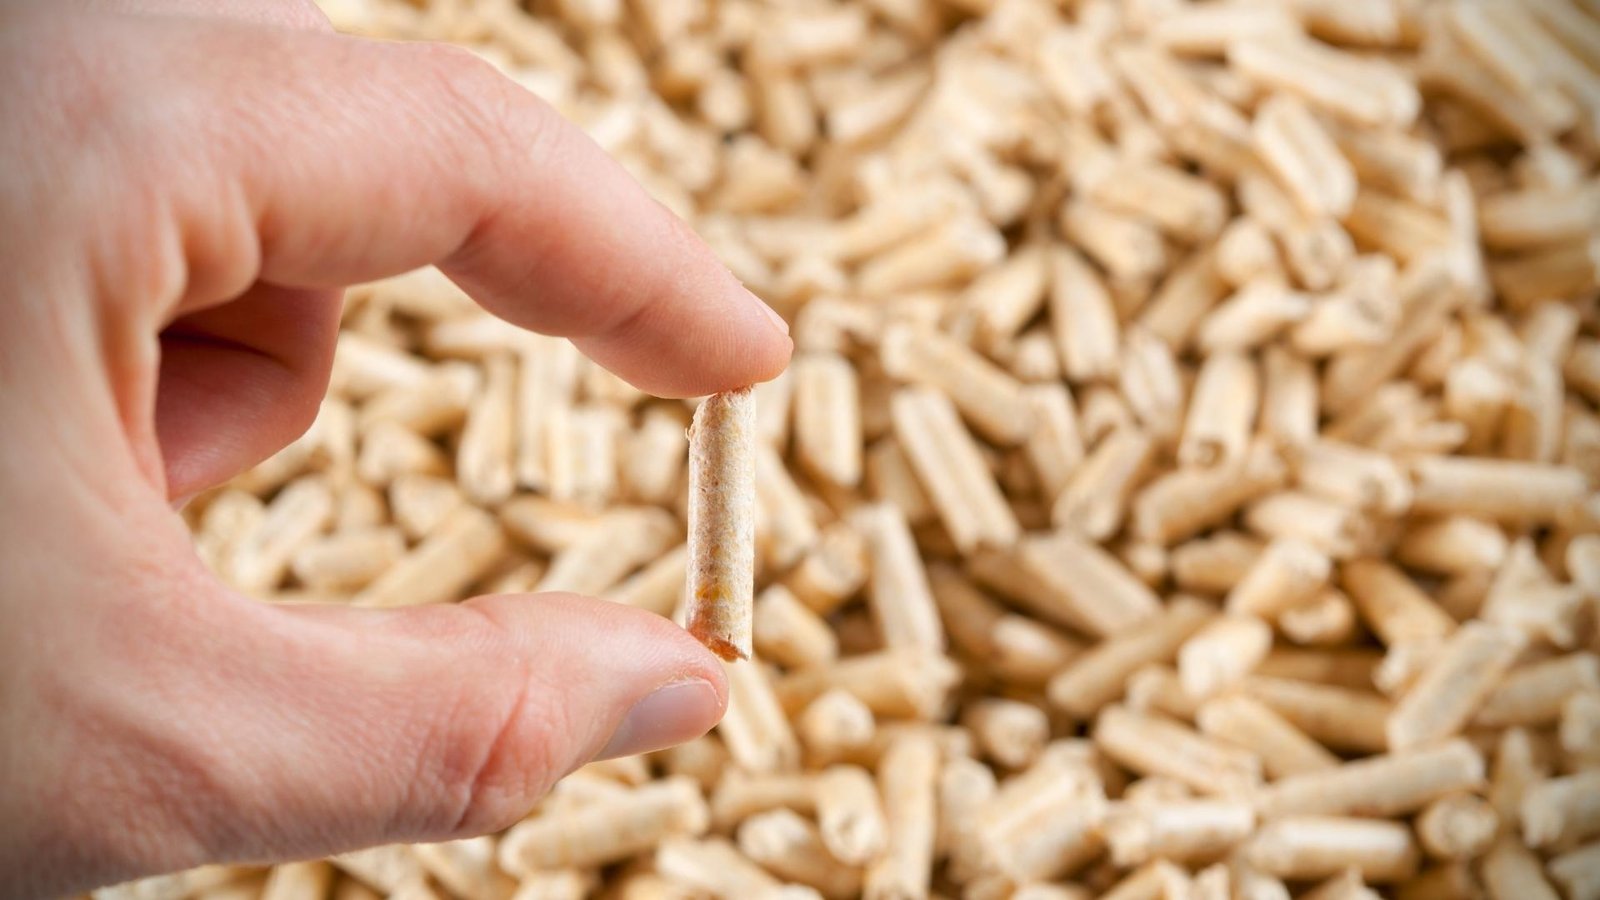
- Begin your substrate journey by scouting for high-quality hardwood pellets.
- While they’re commonly available for wood-burning stoves or heating purposes, it’s paramount to choose pellets devoid of chemicals, binders, or additives. These can be detrimental to the fungi you’re aiming to cultivate.
Integrating Gypsum:
- If you decide to use gypsum – which is highly recommended – spread the pellets in a wide tray or basin.
- Sprinkle the gypsum evenly, ensuring it’s integrated throughout the pellets.
- Gypsum not only enhances the substrate’s texture but also aids in balancing its pH, ensuring optimal conditions for mycelium.
Hydration Phase:
- Start pouring water slowly onto the pellets.
- Observe as they absorb moisture and expand, breaking apart to resemble sawdust.
- The goal is to achieve a substrate that’s moist to touch but not waterlogged.
Optional Additionals:
- For better consistency, mix in gypsum.
- If using Karo syrup, add it now for an extra nutritional boost.
Jar Filling:
- Filling: Once you’ve achieved the desired consistency with the substrate, it’s time to fill your jars. Distribute the moistened substrate evenly among the jars, packing lightly.
- PLEASE NOTE: If you followed our recipe (shown above) you shouldn’t have to worry about this however, ensure you leave about a 1-inch gap at the top to facilitate room for expansion and air exchange.
- Securing Lids: When placing the lid, ensure the rubber seal faces upward. This helps prevent the jars from getting vacuum-sealed during the sterilization process. Another option is to use a mycology lid such as one that contains a filtered vent and/or injection port (we have articles, DIY Supplies, and both Free & Paid for Mycology Courses hosted on our 🍄 Mushroom Academy!
- Foil Cover: Wrap the tops of the jars with aluminum foil. This provides an added layer of protection against potential moisture intrusion during pressure cooking.
Sterilization:
- Prepare the pressure cooker by lining its base with a cloth or employing a metallic rack to elevate the jars.
- This ensures they aren’t in direct contact with the heat source. Arrange the jars inside, set the pressure to 15 PSI, and allow them to sterilize for 90 minutes.
Cooling and Resting:
- Post-sterilization, patience is key. Allow the cooker and its contents to return to room temperature naturally.
- This ensures the substrate is at an ideal temperature when you introduce the mycelial culture, reducing the risk of thermal shock to the fungi.
Remember, each step is integral to the success of your mycological endeavors. The universe of mushrooms is expansive, each variant bearing its own unique charm and characteristics. The Marketplace on the 🍄 Mushroom Network is a testament to this diversity. It is a haven for those seeking a deeper understanding of the magical world of mushrooms. If you’re keen on learning more about this type of mushroom and other mushroom variants, this Marketplace is your ultimate resource.
No posts found!
ADDITIONAL INSIGHTS & TIPS:
Consistency is Key: One of the standout features of hardwood pellets is their uniform composition. This homogeneity ensures that water retention, nutrient distribution, and even the rate of colonization remain consistent throughout the substrate.
The Quality Conundrum: While it might be tempting to source cheaper pellets, always remember: quality directly impacts the health and growth of your fungi. Avoid pellets with additives or binders at all costs, as these can stunt growth or introduce contaminants.
Gypsum’s Silent Role: While one might overlook the inclusion of gypsum, its silent role in fostering a healthier substrate shouldn’t be underestimated. From adjusting pH to improving texture, gypsum acts as a silent guardian for your mycelium.
Venturing Beyond the Basics: For the more experimental mycologist, hardwood pellets can be a base to which other organic materials are added. Think about supplementing with straw or even coffee grounds. Such innovations can lead to altered colonization rates or even affect the eventual yield.
Attentive Observation: Despite the consistency of hardwood pellets, remember that the world of mycology often requires keen observation. Regularly inspect your jars for signs of contamination or anomalies. Prompt action can save a batch that’s headed for trouble.
Feel like you’re wading in the deep end? Dive into the 🍄 Mushroom Academy! Whether it’s understanding substrates, mastering sterilization, or exploring the intricacies of mycelium, our courses are tailored for every seeker. Hardwood pellets are just the tip of the mycological iceberg. With our diverse range of courses, every TEK, every nuance becomes a learned art. Ignite your passion and become a mycelium maestro with us. Whether you’re a beginner eager to learn or an experienced mycologist looking to broaden your knowledge, the 🍄 Academy has something for everyone.
Related Reads:
Substrate for Mycology: A Comprehensive Guide on Hardwood Pellets
Journey into the rich tapestry of mycology, diving deep into hardwood pellets – a favored...
Read More...
CONCLUSION:
Your adventure in the world of mycology is supported by a robust community and the vast resources of the 🍄Mushroom Network. From enlightening articles and transformative courses at the 🍄 Mushroom Academy to a curated selection of premium genetics, substrates, and essential supplies, we stand by you. Embrace this wondrous journey, and let us elevate your mycological endeavors to unmatched pinnacles.
Don’t forget to check out the 🍄 Mushroom Network’s Marketplace to see what’s available. But hurry, our shelves are constantly evolving, and you wouldn’t want to miss out on this wonderful mushroom. Join our growing network of Patrons, Genetics, and Mycologist Vendors only on the 🍄 Mushroom Network!
Recommended Reads:
Harnessing the Power of Cordyceps
The article, “Harnessing the Power of Cordyceps,” aims to illuminate the potential health benefits and...
Read More...Nameko: Health and Healing: The Medicinal Potential of Nameko Mushrooms
When it comes to the spectrum of medicinal mushrooms, Nameko holds a distinctive place. Treasured...
Read More...Isolating Cultures in Mycology: A Comprehensive Guide
Mushrooms, being fungi, have a complex and fascinating biology that presents many opportunities for scientific...
Read More...Fungal Symbiosis: Understanding Interdependence and Harmonious Coexistence
The intricate dance of life often revolves around relationships. Nowhere is this more apparent than...
Read More...Whoa there, Spore Sport! 🍄 Looks like you’re not logged in yet. Don’t you know what you’re missing? MYCO-CREDITS! Imagine all the fungal fun you could have. It’s like finding a Morel in May and not picking it. Tragic, right? Log In or Become a Myco-Patron and start racking up those credits. It’s more rewarding than finding a mushroom in your backyard! 🌟🏡
